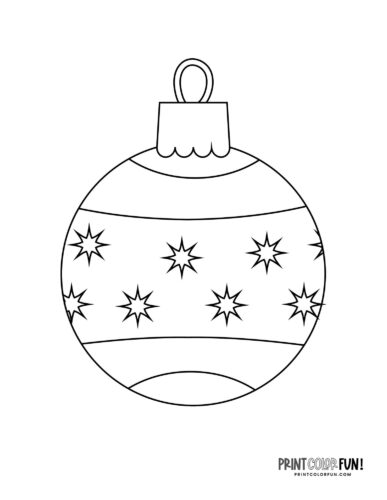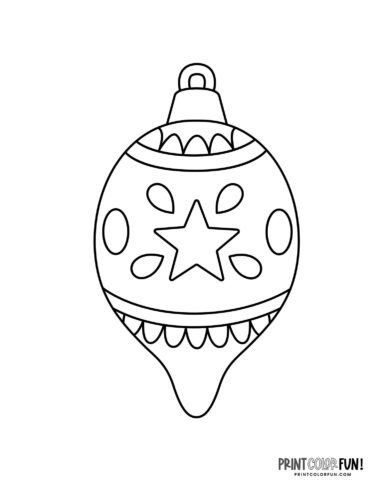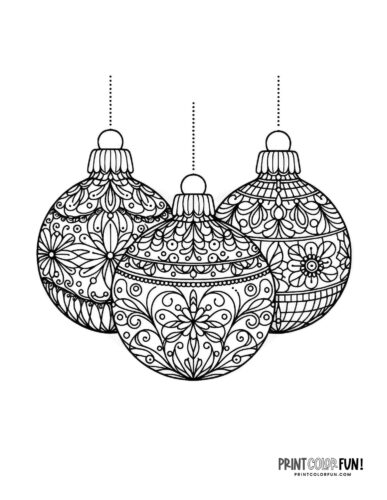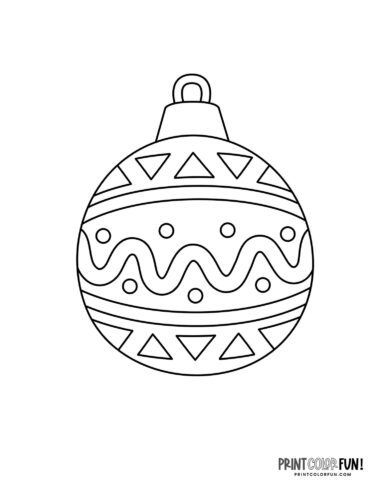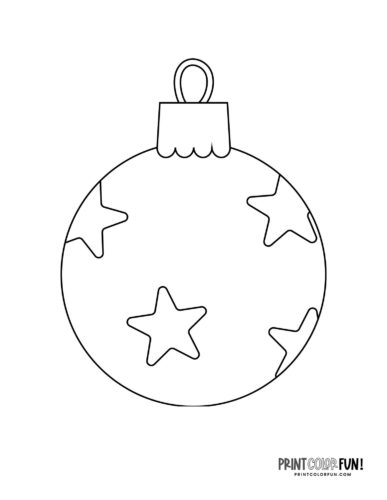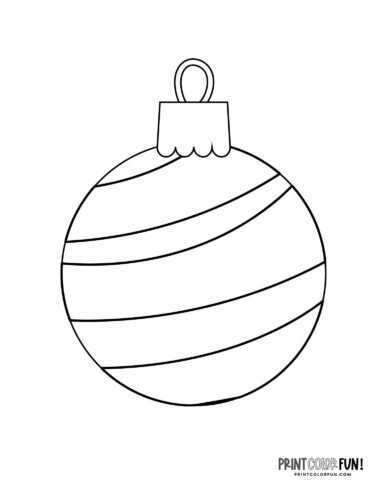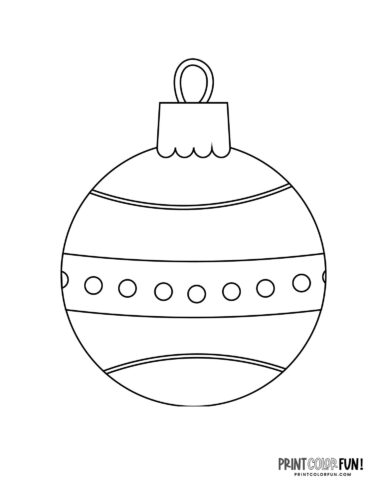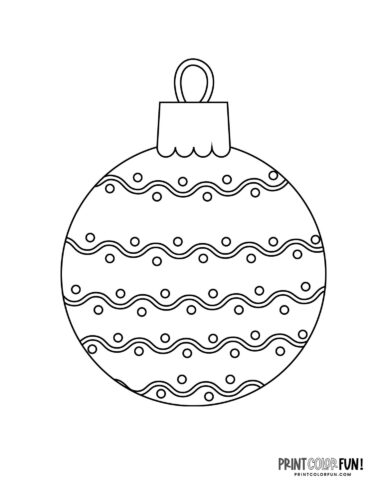
5 amazing ways to use Christmas ornament clipart
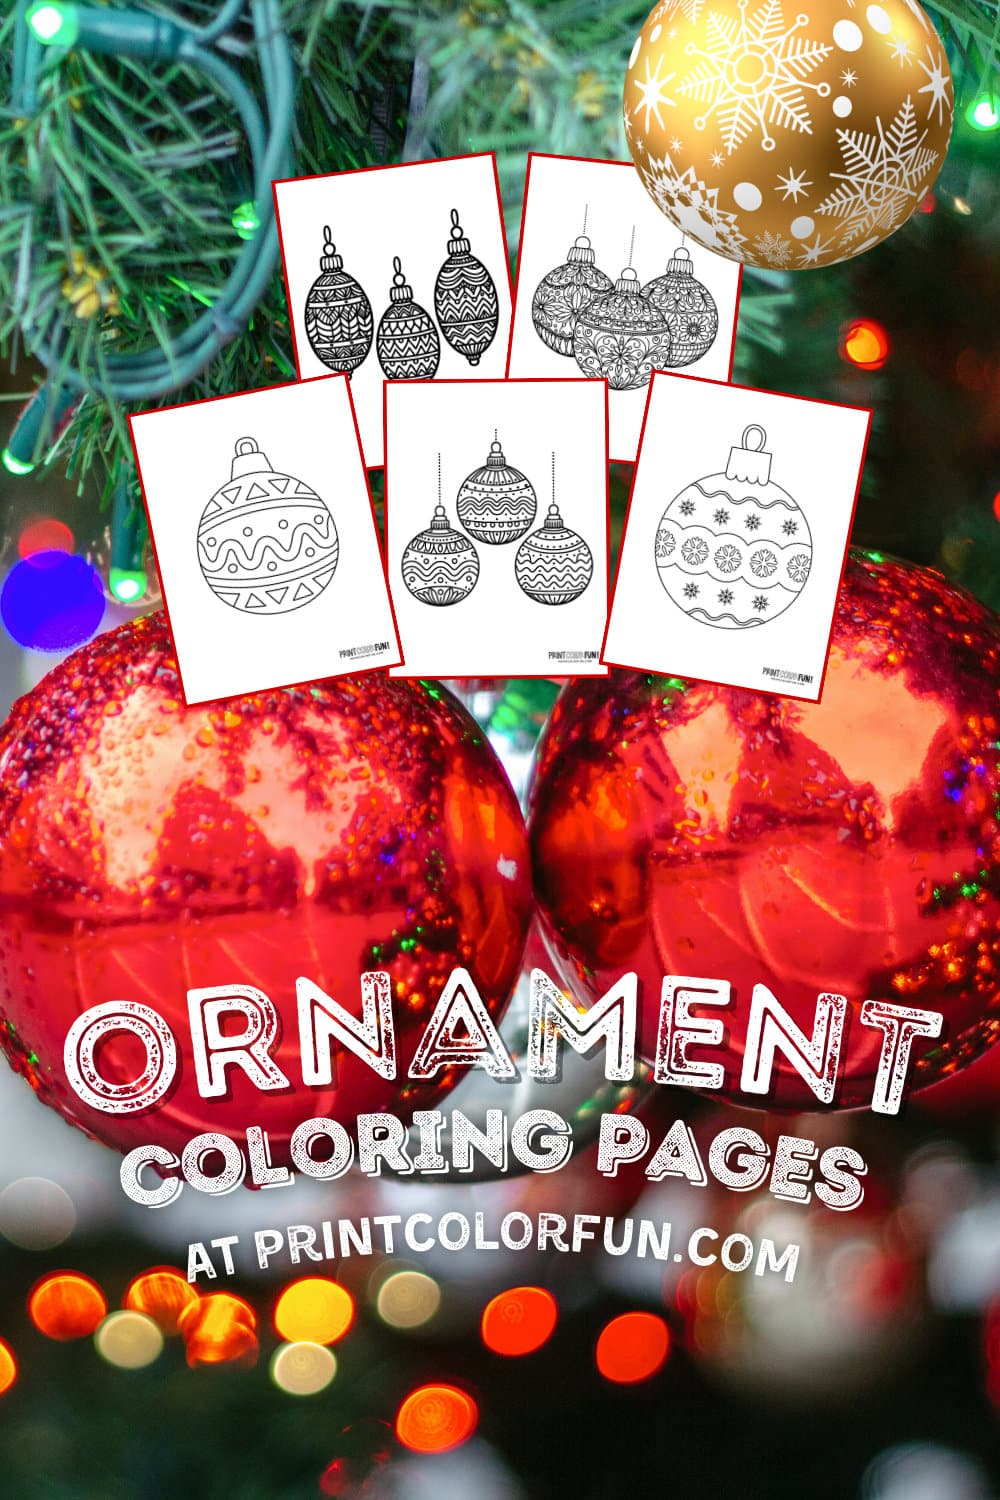
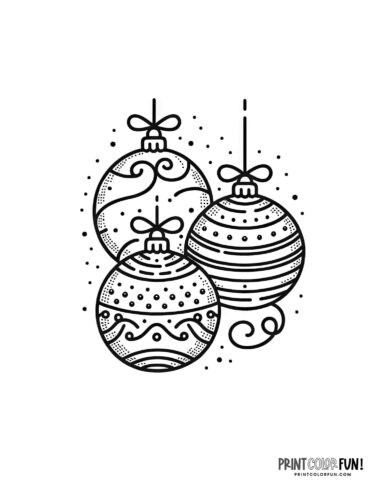
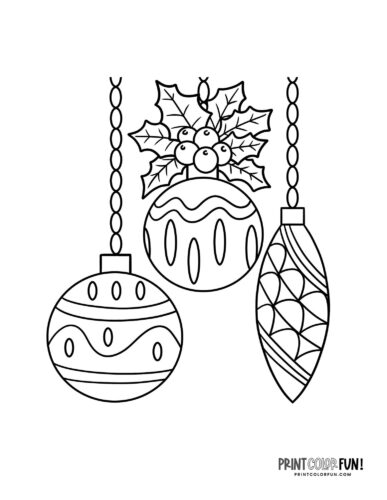
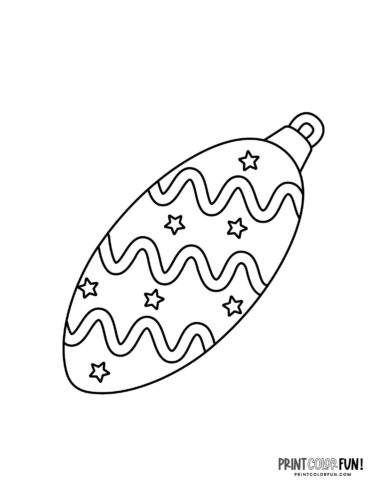
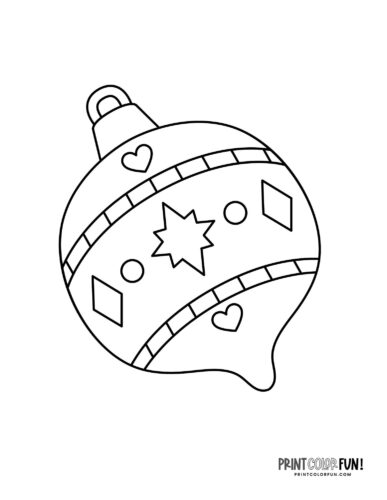
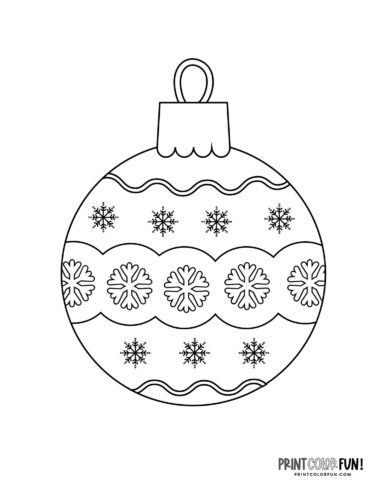
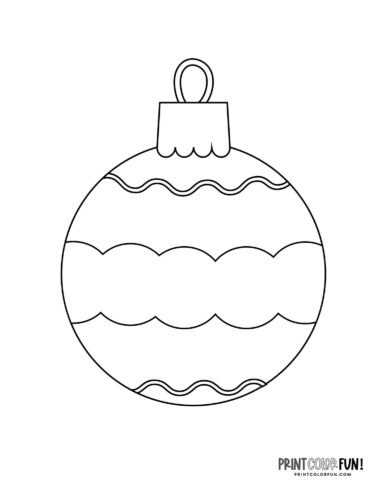
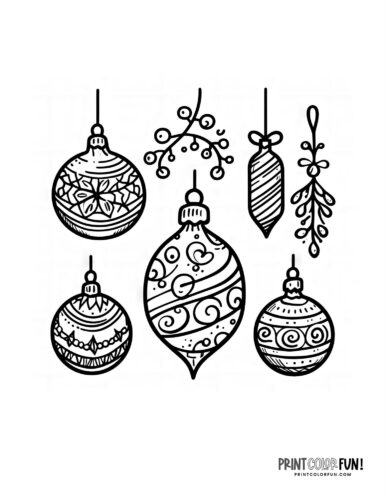
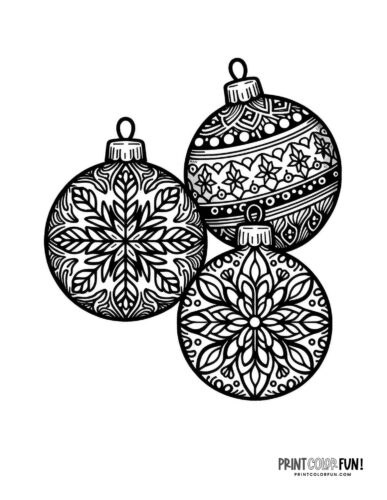
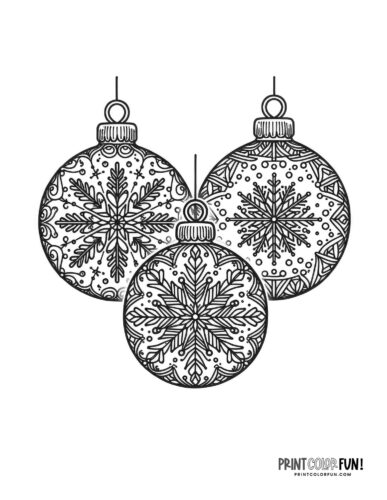
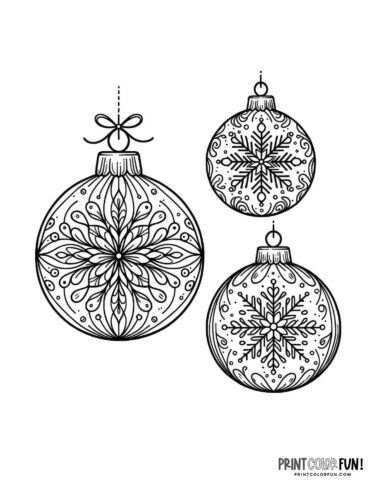
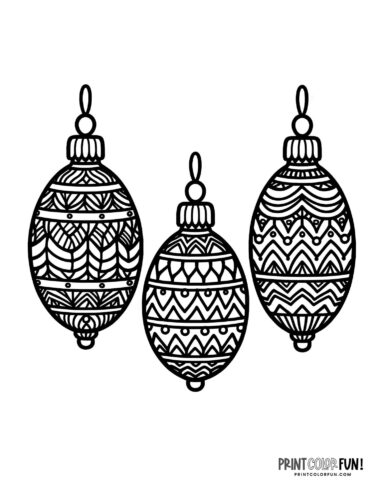
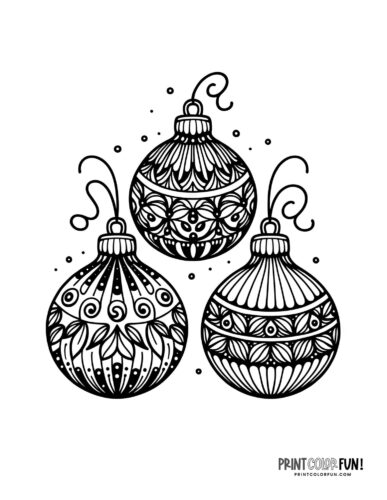
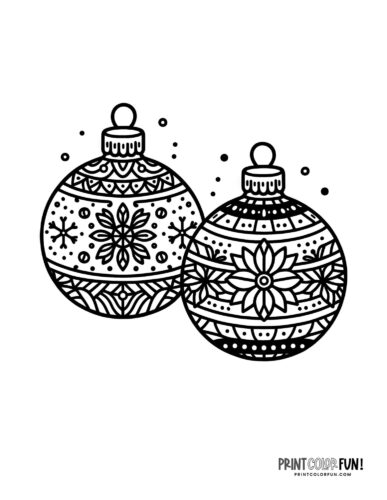
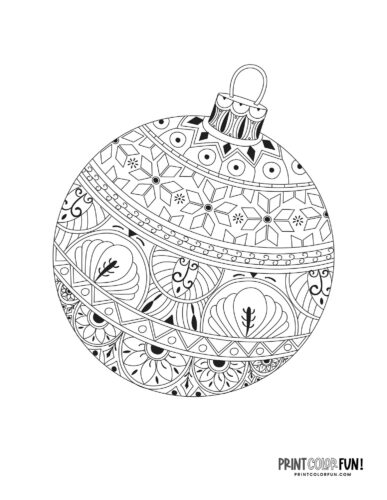
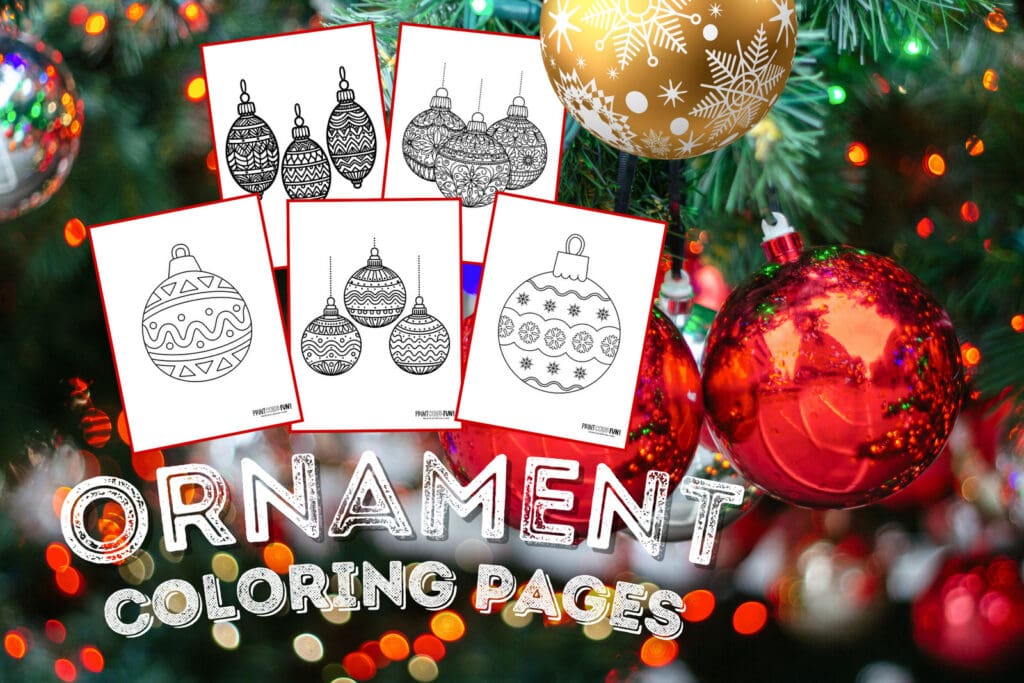
Ready to sprinkle some festive fun into your crafting sessions? These 22 Christmas ornament coloring pages offer a range of designs and patterns, perfect for coloring and crafts. Our printables are not only delightful to look at but also provide an opportunity for children to explore their creativity and learn about the festive season.
Below we feature five creative projects that transform simple Christmas ornament clipart and coloring pages into delightful holiday decorations. Let’s get crafting!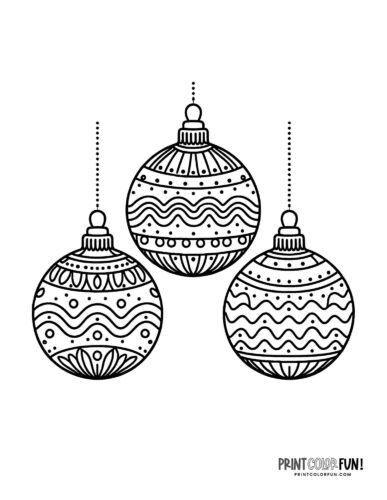
Christmas ornament fairy lights
Shine your the holiday spirit in a unique way. When fairy lights meet colored ornaments, the result is a warm, glowing ambiance that’s pure magic for your kiddo. Perfect for cozy winter evenings.
Materials needed: Colored pencils or markers, scissors, fairy lights, small knife or scissors for slits, laminator, self-laminating sheets or cardboard (optional).
Instructions:
- Print and color the ornament coloring pages.
- Cut out each ornament.
- For added sturdiness, consider laminating them or gluing them onto cardboard.
- Carefully make a small slit at the top and bottom of each ornament.
- Slide each ornament over individual fairy lights, ensuring the light shines through.
- Display the fairy lights in your desired location.
3D spinning ornaments
Add a touch of magic to any room with these spinning ornaments made from colored Christmas ornament template pages. As they twirl, they showcase the beautiful designs your child colored in, making each one a unique masterpiece.
Materials needed: Colored pencils or markers, scissors, glue, string or ribbon, laminator, self-laminating sheets or cardboard (optional).
Instructions:
- Print and color two identical Christmas ornament printable pages.
- Carefully cut out the ornaments.
- To make them durable, either laminate them or glue them onto cardboard and then trim any excess.
- Glue the two ornaments back-to-back, placing a length of string or ribbon in between for hanging.
- Once dried, hang them from desired locations to enjoy the spinning effect.
Festive Christmas banner
Take your completed Christmas ornament printables, and deck the halls with a banner that bursts with festive cheer! This DIY project transforms colored ornaments into a delightful decoration that’s perfect for doorways, windows or walls.
Materials needed: Colored pencils or markers, scissors, hole punch, ribbon or twine, laminator, self-laminating sheets or cardboard (optional).
Instructions:
- Print and color multiple Christmas ornament coloring pages.
- Cut out each ornament.
- To make them last longer, consider laminating them or gluing them onto cardboard.
- Use a hole punch to make holes at the top of each ornament.
- Thread the ornaments onto the ribbon or twine, ensuring they are spaced out evenly.
- Hang the banner across desired locations.
Magnetic Christmas ornaments
Turn your fridge or magnetic board into a holiday canvas. These ornaments not only brighten up the space but also let your child play and rearrange their creations any way they like.
Materials needed: Colored pencils or markers, scissors, adhesive magnets, laminator, self-laminating sheets or cardboard (optional).
Instructions:
- Print and color your favorite Christmas ornament clipart.
- Cut out each ornament.
- For durability, you can laminate them or glue them onto cardboard.
- Attach an adhesive magnet to the back of each ornament.
- Display them on any magnetic surface.
Christmas ornament door hangers
Doors don’t have to be dull during the holiday season. These door hangers are a playful way to greet anyone entering the room, swaying gently with every open and close.
Materials needed: Colored pencils or markers, scissors, ribbon or string, hole punch, laminator, self-laminating sheets or cardboard (optional).
Instructions:
- Print and color various Christmas ornament template pages.
- Cut out the colored ornaments.
- If desired, laminate or glue them to cardboard for added durability.
- Punch holes at the top of each ornament.
- Attach them at intervals to a length of ribbon or string, ensuring there’s enough space between each.
- Make a loop at the top of the string or ribbon for hanging.
- Hang it on door handles, hooks, or knobs.
Share the fun!
Like these pages? Please share this post on Pinterest! You can use the image below if you like. Thanks! 🎄
