Note: This article may feature affiliate links, and purchases made may earn us a commission at no extra cost to you. Find out more here.
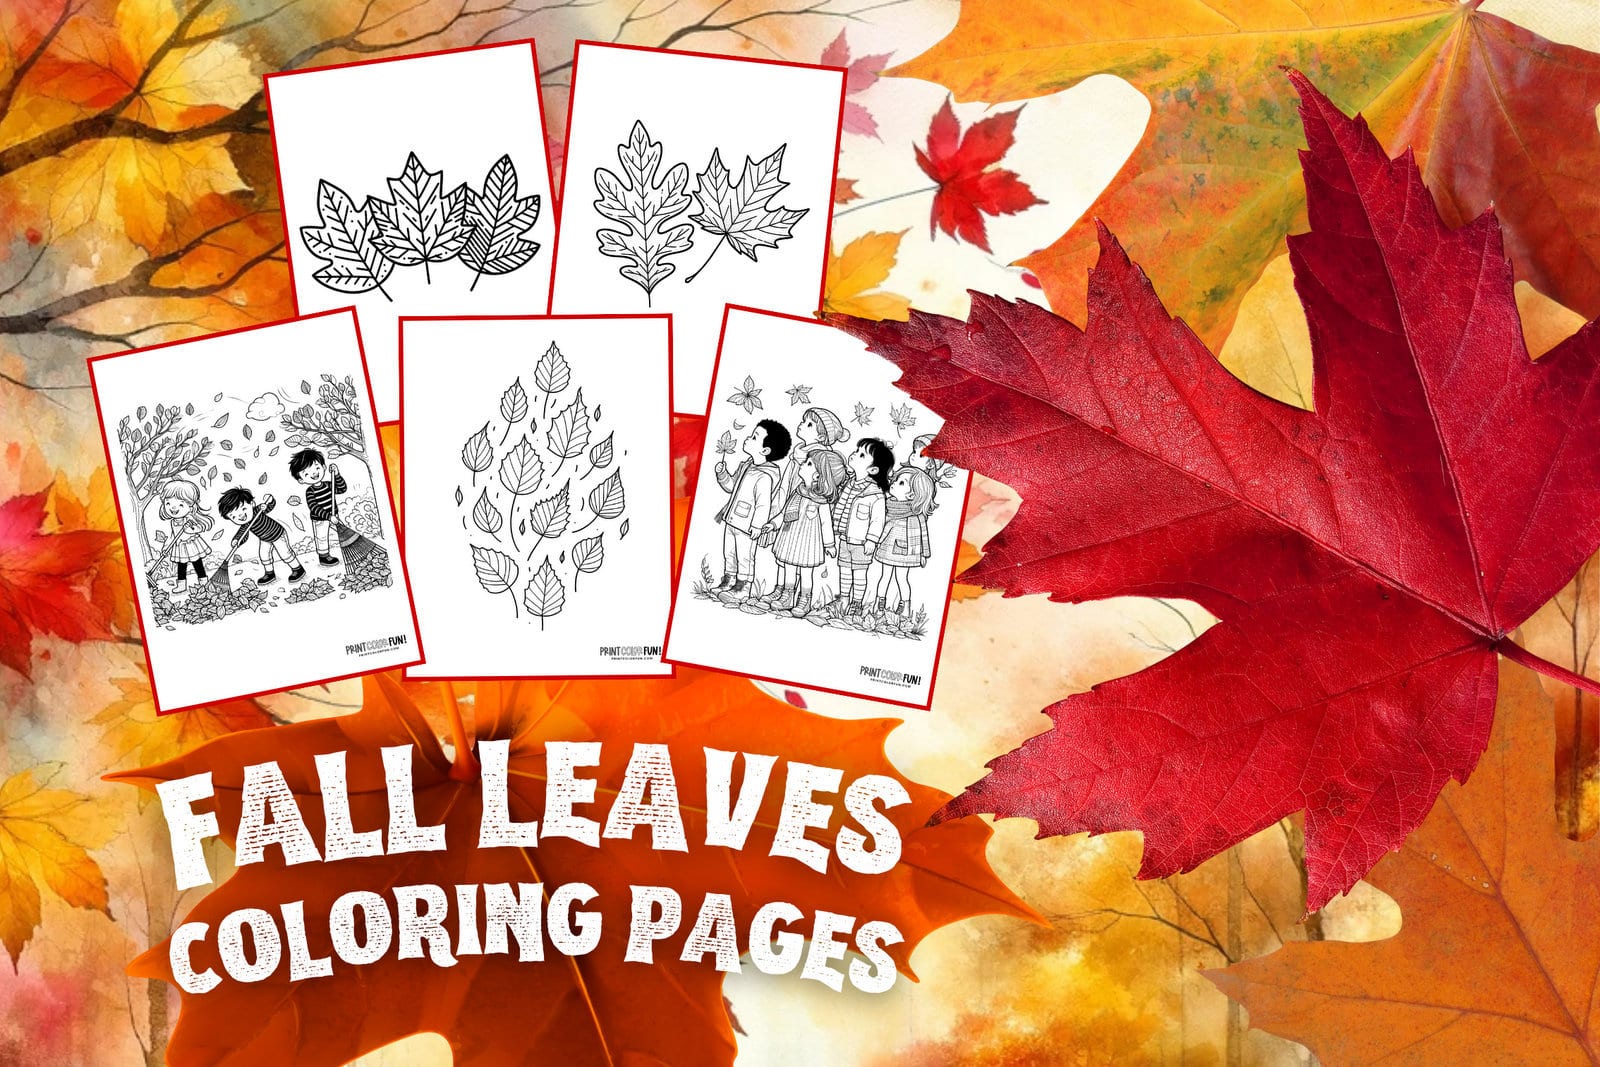
Bring autumn indoors with fall leaf coloring pages
Autumn sweeps in with a burst of colors, as leaves swap their green attire for flashy shades of red, gold, and brown. It’s like nature’s way of throwing a going-away bash for summer. And what’s not to love? Crisp air, warm sweaters, and the trees showing off their new fall wardrobe.
These coloring pages turn this leafy fiesta into an artistic palette of possibilities for kids — letting them play around with colors and shapes while getting a fun peek into the wonders of the changing seasons.
Engage & enrich with fall leaves coloring pages
Fall leaf coloring pages are more than just a quiet time activity. They can be a springboard for numerous enriching experiences:
Exploration and conversation: As children choose colors for their fall leaves coloring pages, it’s an opportunity to talk about the changes in nature during autumn. The variety in leaf shapes and colors can spark curiosity and conversations about the world around them.
Creative expression: Coloring provides a chance for kids to express themselves creatively. Introduce fall leaf clip art as a resource for them to create their own autumn-themed projects.
Learning through play: Crafting with fall leaf colouring pages can be extended into play. Create a leaf-themed scavenger hunt or use the pages for a storytelling activity.
Make a fun fox craft from dried fall leaves (Photo by Natalya/Envato)
Fall leaf clip art: 2 autumn leaves
Three fall leaves coloring pageFour fall leaves clip art
Engaging in crafts is like opening a door to a world of creativity for little ones. With autumn painting the outdoors with its vibrant palette, it’s the perfect time to bring some of that color and creativity indoors.
These craft ideas, centered around fall leaf coloring pages, are designed to not only entertain but to nurture the imagination. Each snip, color blend, and glue stick moment is a step towards creating something wonderfully autumnal.
Dried leaf and fern art – craft project with frames (Picture by NewAfrica/Deposit Photos)
Color palette exploration: Encourage children to experiment with different color combinations on their fall leaf coloring pages, blending crayons or colored pencils to create varying shades of autumn.
Leaf cut-outs: Once colored, cut out the leaves from the fall leaf coloring pages and use them to decorate the home, creating an autumn-themed garland or a tabletop display.
Mixed media artwork: Use the colored pages as a base, and add real leaves, twigs, or other nature items to create a 3D mixed media artwork.
Leafy storyboards: Cut out the colored leaves and glue them onto a large piece of paper. Kids can draw scenes around the leaves, creating a storyboard or a unique fall scene.
Autumn greeting cards: Fold cardstock in half, and glue the colored leaves from the fall leaf coloring pages onto the front. Kids can write messages inside to send autumn greetings to friends and family.
Learning fun with fall leaves coloring pages
The shift from summer to autumn isn’t just a change in the weather; it’s nature’s classroom coming alive with new lessons. The fall leaf coloring pages serve as a fun, colorful base for a variety of learning activities.
Photo by OlgaKhorkova/Envato
Through these engaging exercises, children can explore the basics of nature, math, and color theory, all while celebrating the beauty of the season. Each activity is a playful step towards understanding the world a little better, with a splash of autumn magic.
Leaf identification: Compare the shapes on the coloring pages to real leaves collected from outside. Try to identify the types of trees the real leaves come from, enhancing observational and identification skills.
Color matching scavenger hunt: Take the colored pages outside and try to find leaves that match the colors used on the coloring pages, promoting color recognition and outdoor exploration.
Counting and sorting: Use the colored pages for sorting and counting activities. Sort by color, size, or leaf type, and count the number of leaves in each category.
Nature journal: Use the fall leaf coloring pages as a prompt to start a nature journal. Kids can write about what they observe in nature during autumn, and glue their colored leaves into the journal.
Size and shape comparison: Discuss and compare the different sizes and shapes of leaves on the coloring pages, introducing basic math and geometry concepts in a hands-on way.
Kids raking autumn leaves
How to make some easy autumn leaf crafts
Fall is when Mother Nature takes out her palette of colors and transforms the leaves into brilliant oranges, reds and yellows.
It’s also a time of year when you can show off your own creativity with the help of the maple, oak, birch, sweetgum and other trees in your neighborhood. Here are a few creative ways to use those autumn leaves in simple leaf crafts!
Photo by LesiaScotch/Envato
By Brenda Hyde
Fall leaf craft with Mother Nature’s handiwork
If you’re a creative or crafty type, autumn leaves are especially wonderful, as nature has given us beautiful colors to work with — no painting necessary! (I also find the green leaves of ivy, herbs and other plants are beautiful as well.)
How to dry leaves to use for craft projects
To prepare for these craft projects, start by collecting nice whole leaves in a variety of different sizes. Press them between two clean sheets of paper or waxed paper in a large, heavy book, such as a phone book or dictionary. (If needed, put more books on top or use a rubber band to hold the book pages tight.) You can also use a leaf pressing kit like this one. After two to four weeks, they will be dried, flat and ready for use.
Create a leaf collage
Combine leaves in different shapes, sizes and colors to create a collage. Assemble them in the shape of a turkey, a pumpkin, a single big leaf, a free-form assemblage — or any shape you like.
Cute little chicken leaf craft by abrosimovae/Deposit Photos
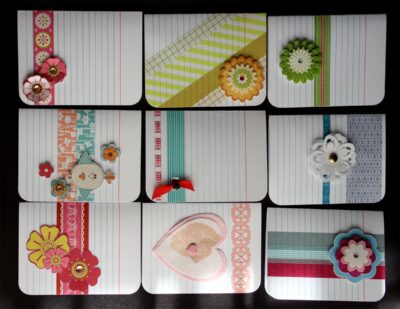
Make bookmarks
Buy white poster board and cut several bookmark shape rectangles out with scissors. I usually cut them about 2″ x 8″. You will need smaller leaves for this project — ivy leaves work well, or thin long tree leaves.
Place the leaves on the bookmark with a touch of glue. Allow to dry for a few minutes. You may decorate with marker too, or simply write the person’s name on the bookmark at the bottom or top, or in between the leaves. (You can also use dried flowers for this.)
Next, cut a section of clear contact paper that is twice as big as your bookmark, with a little extra space on the sides. Place your bookmark upside down very carefully along one edge of the contact paper so you can fold the rest of it over the back of the bookmark.
Carefully smooth down the contact paper to prevent air bubbles, then trim the contact paper to the edge of the bookmark. Complete the bookmark by punching a hole in the top and then tying a ribbon through the hole.
This makes a wonderful gift for teachers, grandparents, and any other readers on your gift list who appreciate books with printed paper pages.
Trace the leaves
Leaves are wonderful to use for tracing! For example, tape leaves to a pumpkin and trace the shape onto the pumpkin with a pen or marker, then, cut out the leaf shapes. Place as many as you can on the pumpkin, and you will have an unusual and pretty lantern to light up at night.
Easy leaf mobile
A leaf mobile is the perfect decoration for the fall season! Trace outlines of five leaves onto white foam sheets; they should all be close to the same size. (Foam sheets are bought like poster board and can be found in craft supply stores.) Cut out the shapes, and punch a hole in each cutout.
Next, sponge paint your leaves, using yellow, orange and red paint. Dab your sponge lightly into the paint, and then onto your leave shape and press the sponge all over both sides.
While these are drying you can make the mobile. Glue two sticks together so they are crossed at the center. You can use twigs, or craft sticks. They should be about 5-6 inches long.
Tie raffia ribbon or twine to each leaf through your hole and then knot the other end onto end of each stick and the fifth one in the center. Balance the mobile by adjusting the length of each leaf if it hangs crooked. Tie a final ribbon or piece of twine to hang the mobile!
Try your hand at making a leaf magnet
You can also make leaf magnets the same way as above by gluing a small magnet on the back of each leaf instead of making the mobile. You can write each family member’s name in the middle of the leaf after sponge painting. Use your imagination, and you will find so many uses for leaves of all colors, shapes and sizes.
DIY craft projects with dried leaves – leaf confetti Photo by kramyninasvetlana via Twenty20
Leaf prints, rubbings and stamps
Here are a few more crafty ideas, adapted from information from the Maryland Department of Natural Resources.
Leaf print crafts
One way to print the patterns on leaves is by using non-toxic ink stamp pads. (You may want to try the multicolor ink pads.)
Place leaf on the pad top side up.
Then put paper over the leaf, and rub across and press the leaf.
Remove paper, pick up leaf by stem and place ink side down on paper, then place paper over leaf and rub across with fingers.
Lift paper, then leaf. Repeat process.
If you use large sheets of craft paper, you can have a mural of leaf prints to place on the wall.
Older kids and teens could also stamp leaves inked with fabric paint onto t-shirts or cloth.
Draw leaves from real life, or create leaf rubbings (Photo by Belchonock/Deposit Photos)
Leaf rubbings
You can use crayons or colored pencils to highlight the shape and texture of the different leaves.
Place leaf with the underside (veins) up.
Cover with writing paper (not drawing paper, which is too thick).
Color using light strokes of the pencil or crayon tip over the paper, or use the side of an unwrapped crayon.
Dark and bright colors show up best.
Create leaf stamps
Cut pieces of cardboard that are bigger than the leaves.
Use white glue to glue smooth side of leaf to cardboard.
Paint leaf.
Place leaf stamp on paper and press hard. Repeat in different positions as desired.
If you want to stamp with multiple colors, dry before printing the next color.