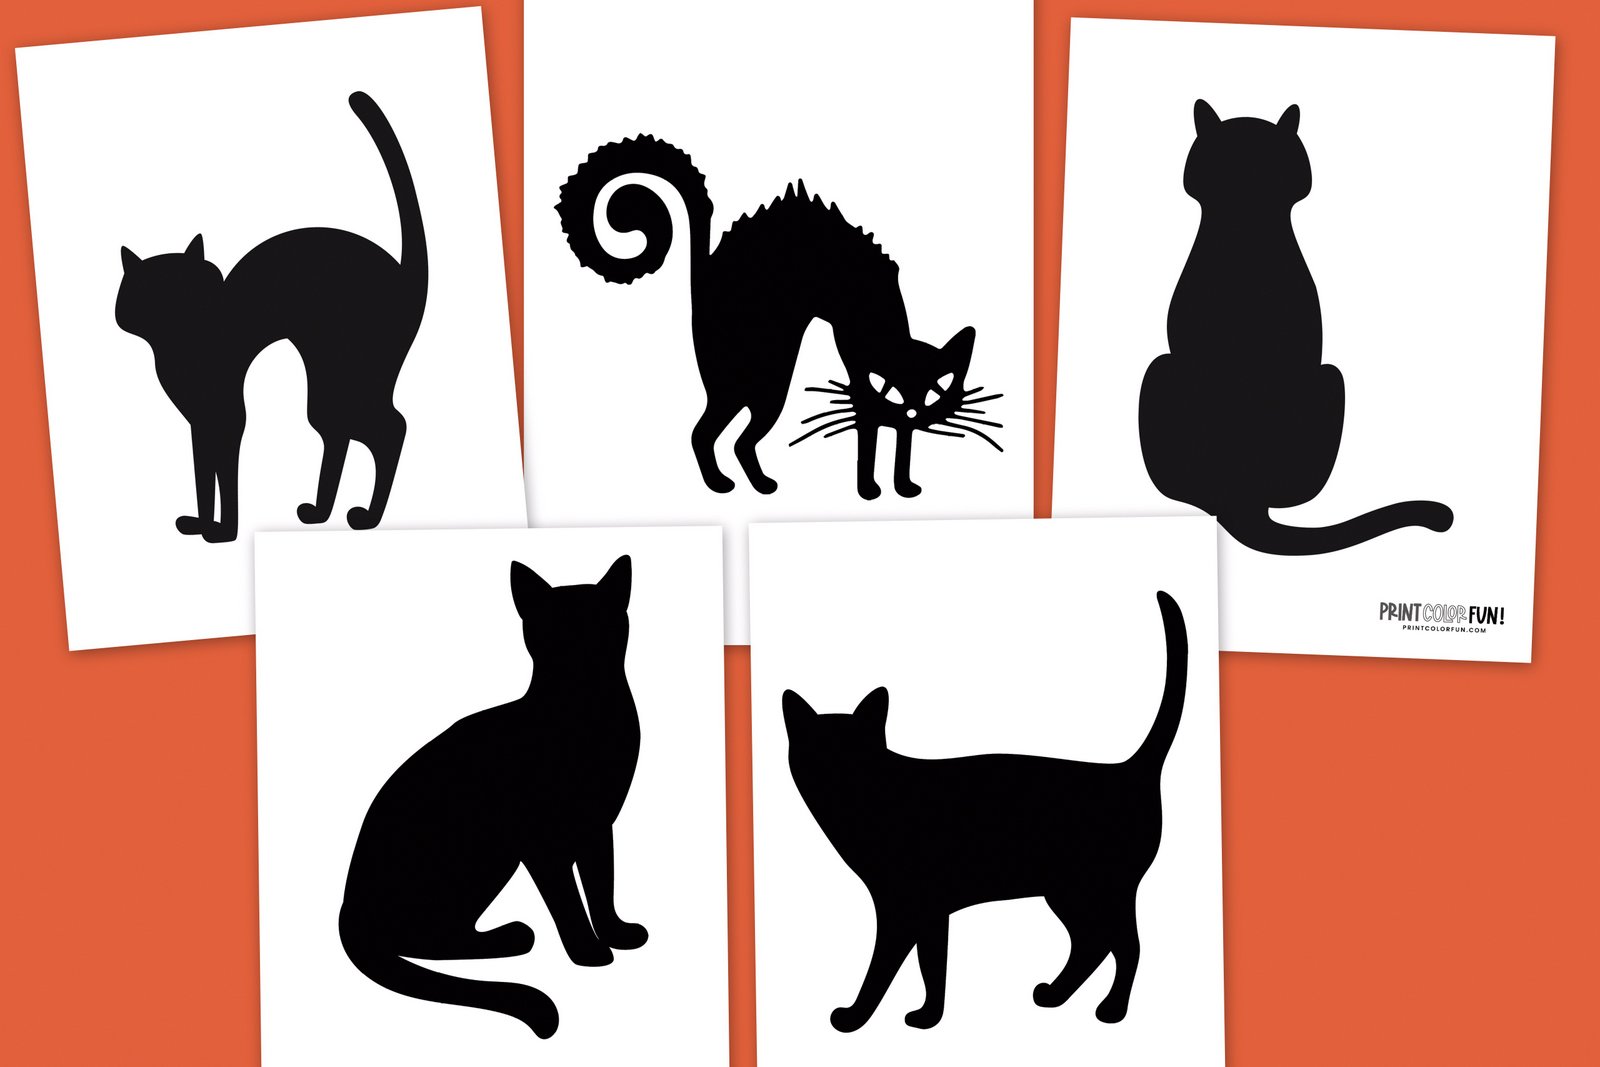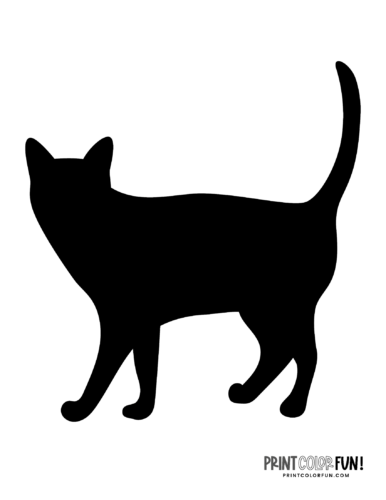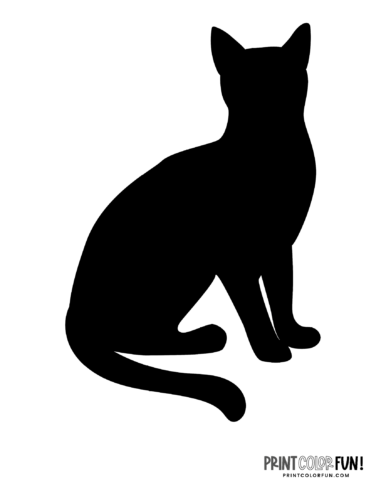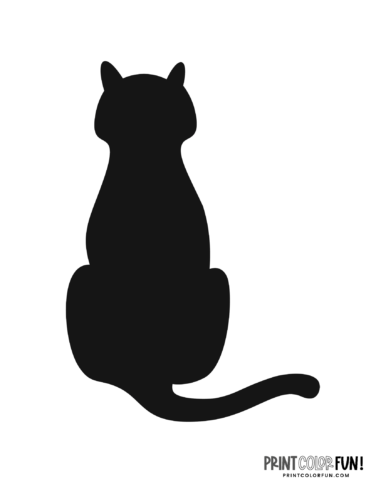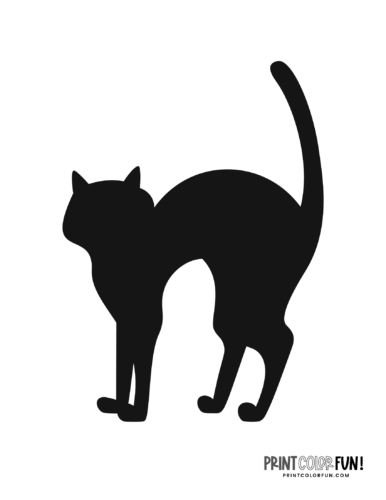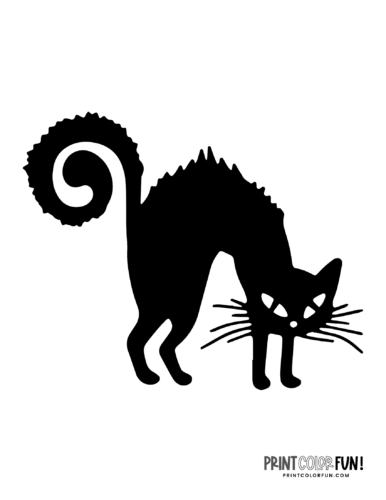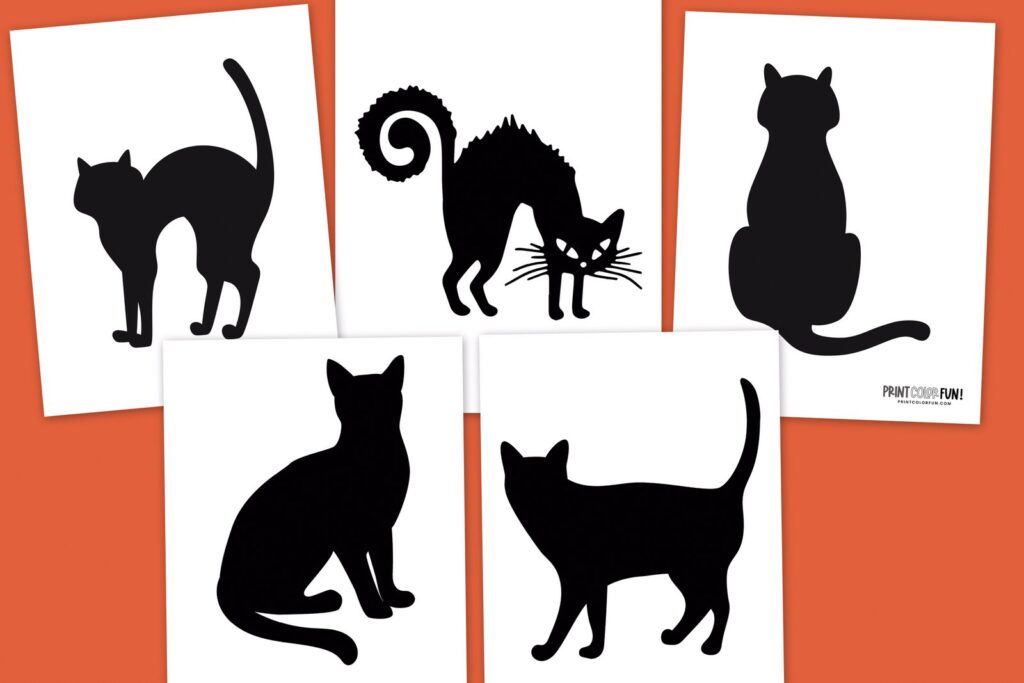
Here are 5 different cat pumpkin carving stencils you can download and print to make a cat design on your Halloween jack-o-lantern!
CARVING YOUR PUMPKIN, STEP-BY-STEP
OPEN: Get your pumpkin ready for its transformation into a jack-o-lantern by cutting a wide (usually at least six inches in diameter) circle around the stem. Carefully remove it and keep it nearby — this will be your lid to open the pumpkin.
CLEAN: You will need to take out the gooshy, stringy pumpkin guts and seeds! (Keep those seeds, though — they are delicious when they’re toasted or roasted.) Using a spoon, scrape out the inside of your pumpkin — and the lid! — a little bit to make the surface free of the soft flesh, so the inside doesn’t get moldy or start to rot as quickly.
CHOOSE: Download and print out the stencils/templates you would like to use. Tape it to the pumpkin on the side that looks best, free from bumps or discoloration, and where you will have enough space to work.
POKE: With a toothpick, pumpkin carving kit transfer tool, pen, or another sharp object that is safe and appropriate for the age and skill of the person wielding it, tap small holes around the outer lines of the template pattern. Push hard enough so you will be able to see where to cut when the paper is removed, but don’t poke through the pumpkin.
CUT: Using a pumpkin carving kit tool (or a knife, if you’re an adult), carefully cut along the dots of your design. You may want to cut in layers for additional precision. Push out and remove the pumpkin shell pieces, and your design will be ready to display!
ALSO SEE: Halloween pumpkin face stencil templates for carving Jack o’lanterns
Just click on any of the images below to get a larger printable version.
Black cat walking
Cute cat sitting
A cat silhouette – seen from behind
A little cat shape with an arched back
Scary black cat shape
ALSO SEE: 30 ghoulishly delightful pumpkin carving stencils for Halloween: Bats, ghosts, witches & more

