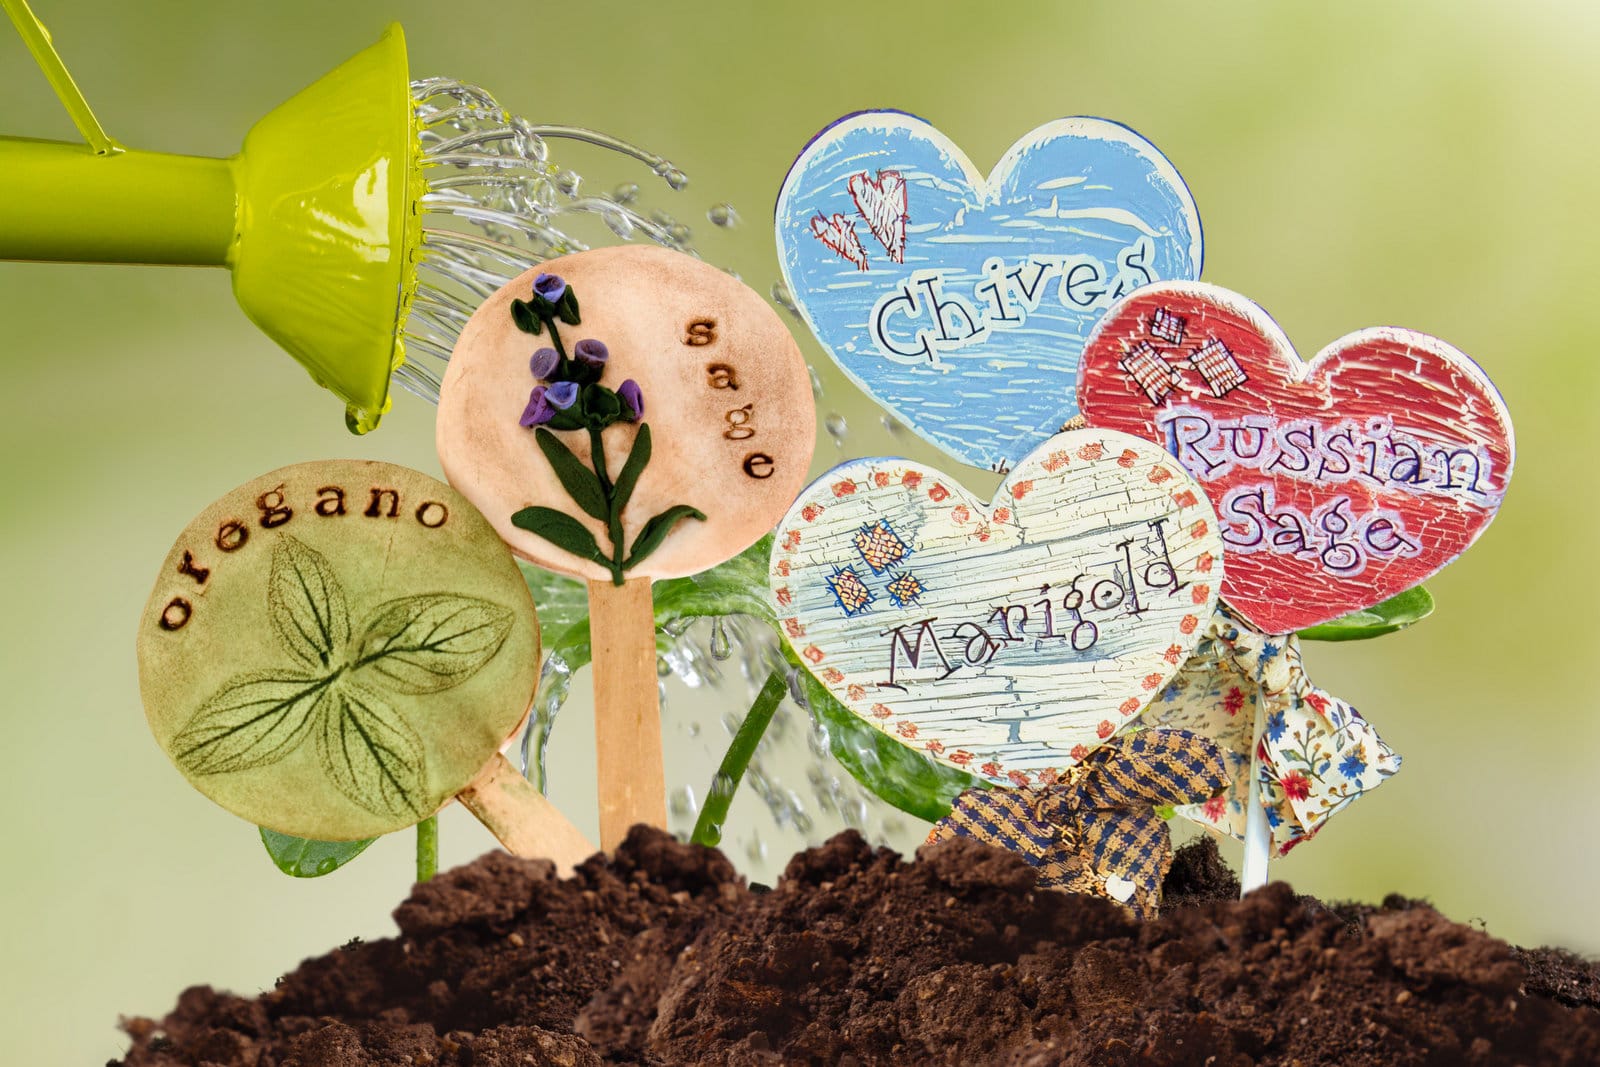
Looking to jazz up your garden or indoor plant collection? These two creative and fun projects — plant markers made from polymer clay and country plant pokes crafted with wooden hearts and dowels — are simple to make and add a personal touch to your garden that’s both crafty and functional.
Whether you’re a green thumb or a crafting beginner, this is an easy and fun way to make your plant space uniquely yours. So, let’s get crafting!
Craft #1: Easy polymer clay plant marker DIY
by Angela Mabray
Two different kinds of garden markers for you to make
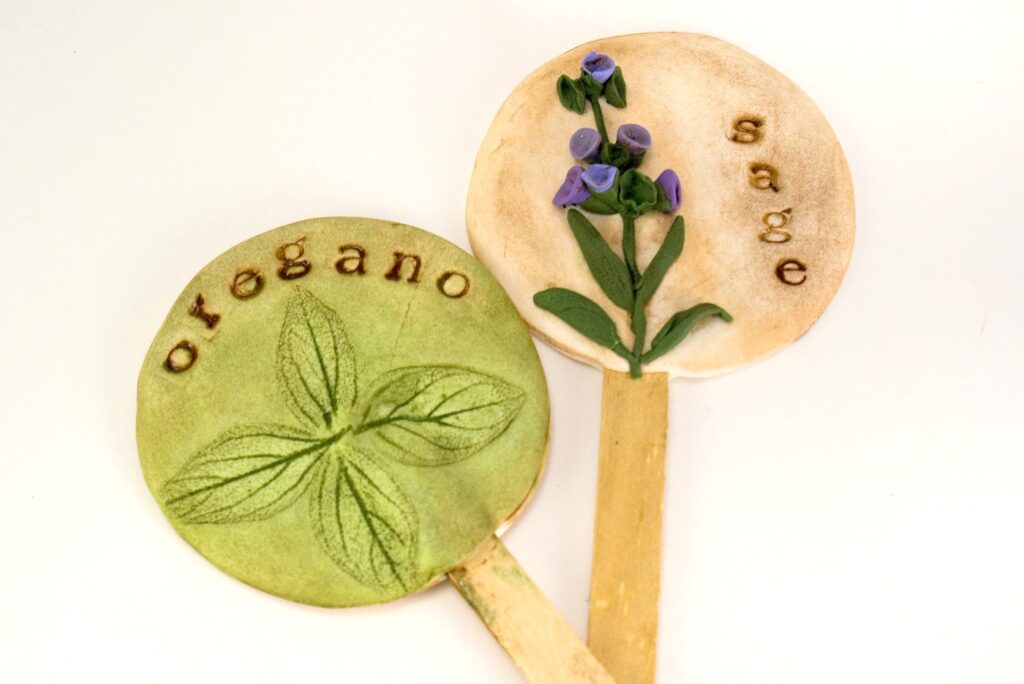
Here, we have an easy DIY for two slightly different styles of polymer plant markers. The first has a sculpted look, while the second has a more natural feel — both are well-suited for an herb garden.
Both projects start and end the same way — it’s the step in the middle that make the difference. The crafty, creative Angela Mabray details the main steps below, and you get all the details in her tutorial at CraftyGoat.com.
Plant markers DIY, step 1: Cut out background
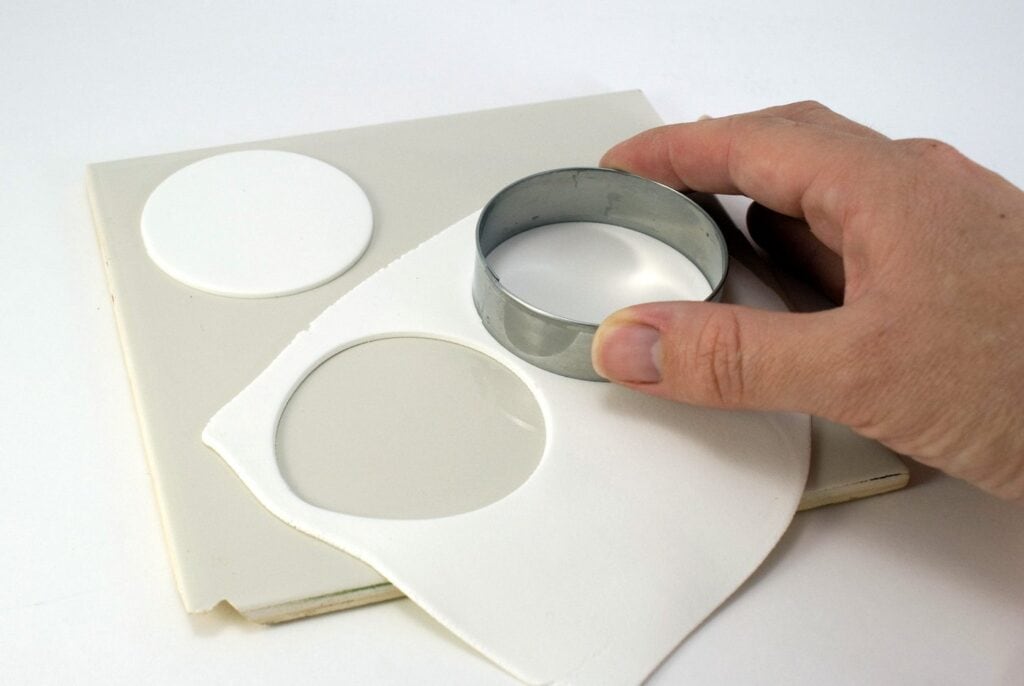
Cut shapes to use for your polymer clay plant markers. I chose UltraLight Sculpey as the background for my plant marker because it’s less likely to make the wooden stakes top-heavy.
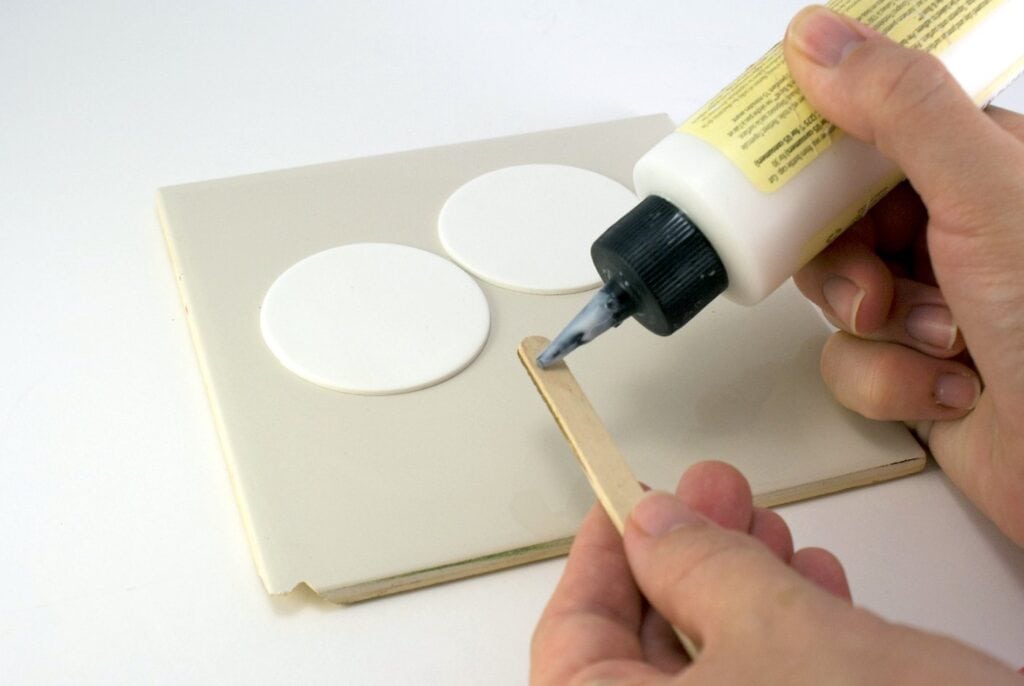
Plant markers, step 2: Add stake
Applying Bake & Bond to craft stick, so it can be embedded between two halves of clay.
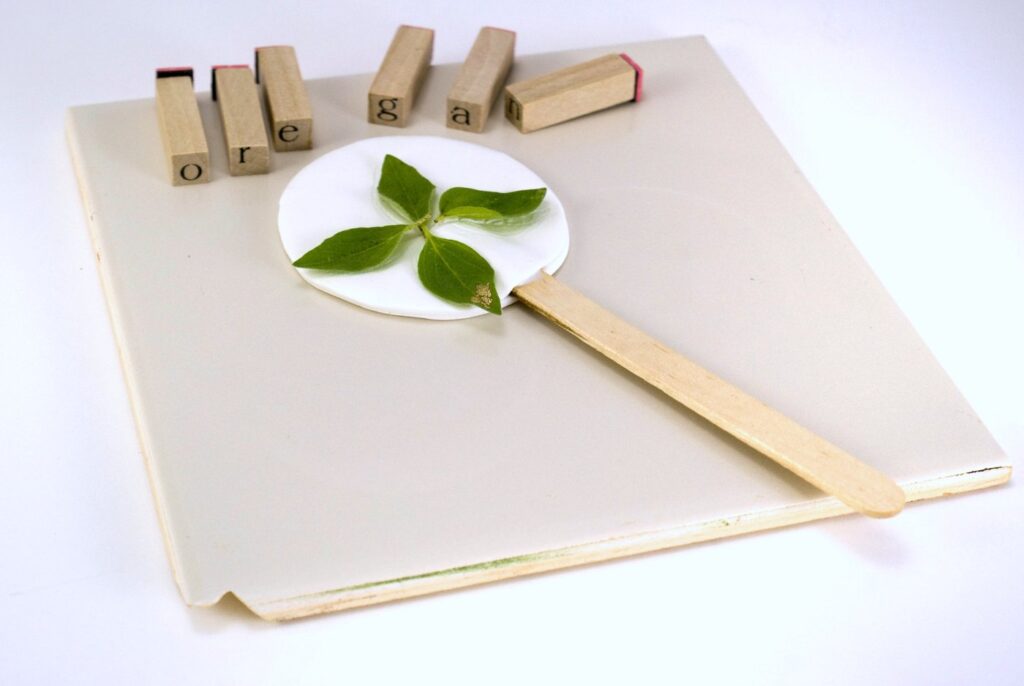
Oregano plant marker, step 3: Decorate leaf impression plant marker
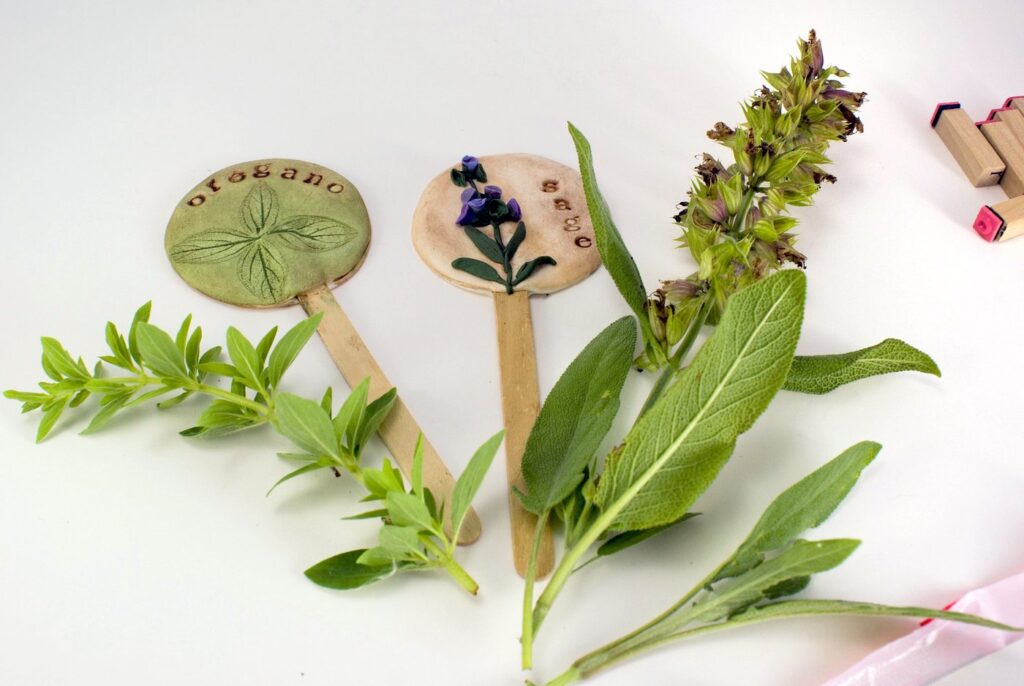
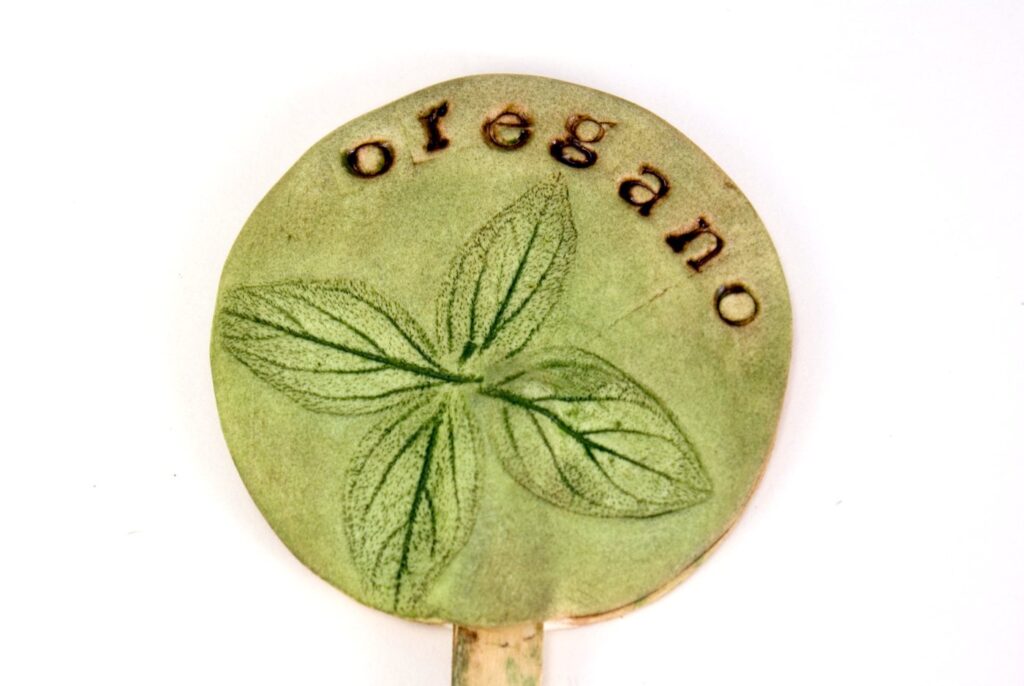
Press oregano leaves into polymer clay to create textured plant marker. You can roll the leaves into the clay with an acrylic roller, or you can just press the leaves into the clay with your fingers.
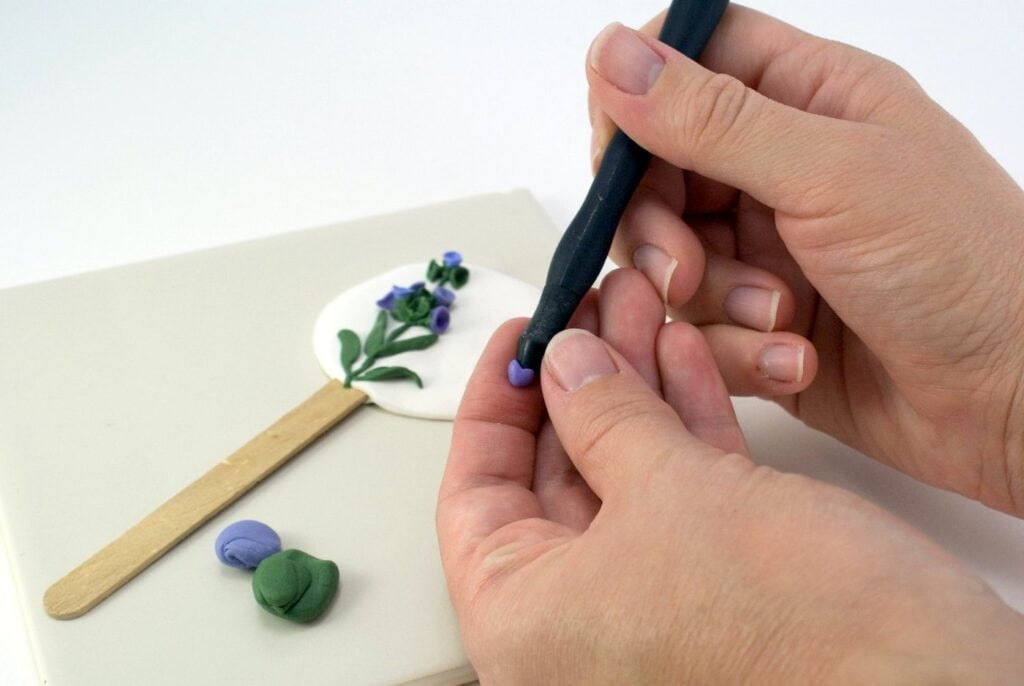
Sage plant marker, step 3: Decorate sculpted plant marker
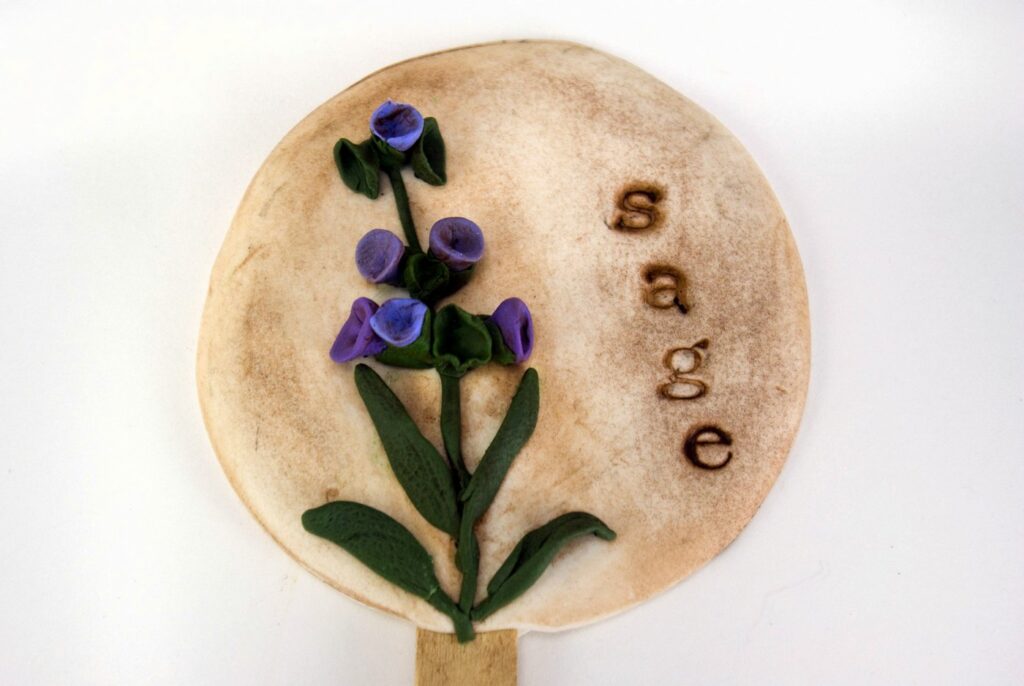
Using a Sculpey tool’s cone tip shaper to create tiny lavender flowers for the plant marker.
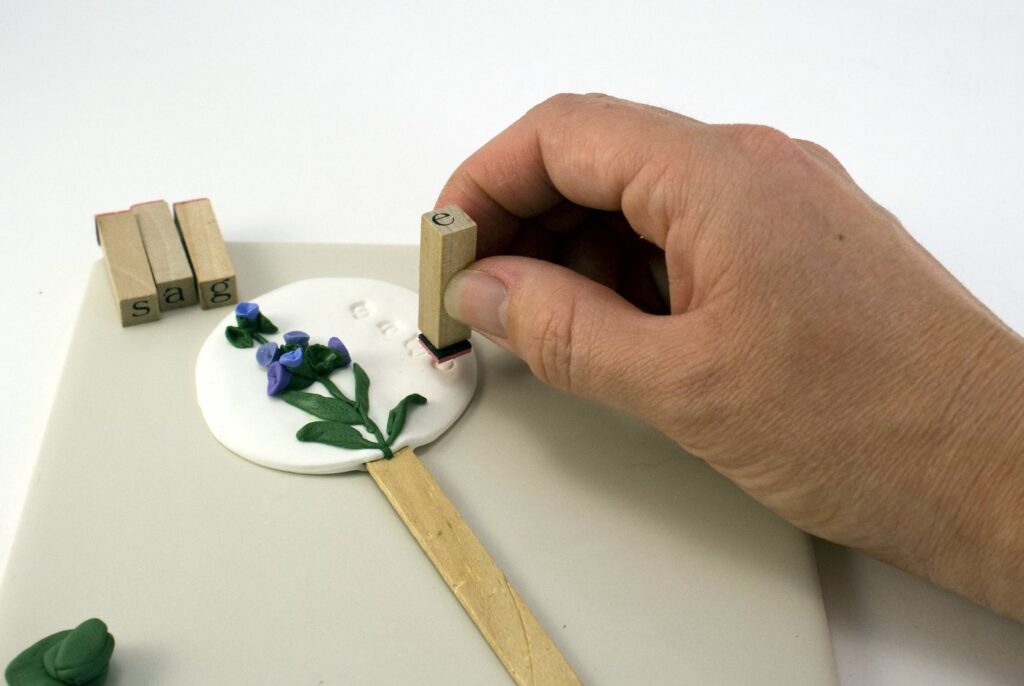
Sage plant marker DIY, step 4: Label it
Use rubber letter stamps to add the plant’s name to the plant marker.
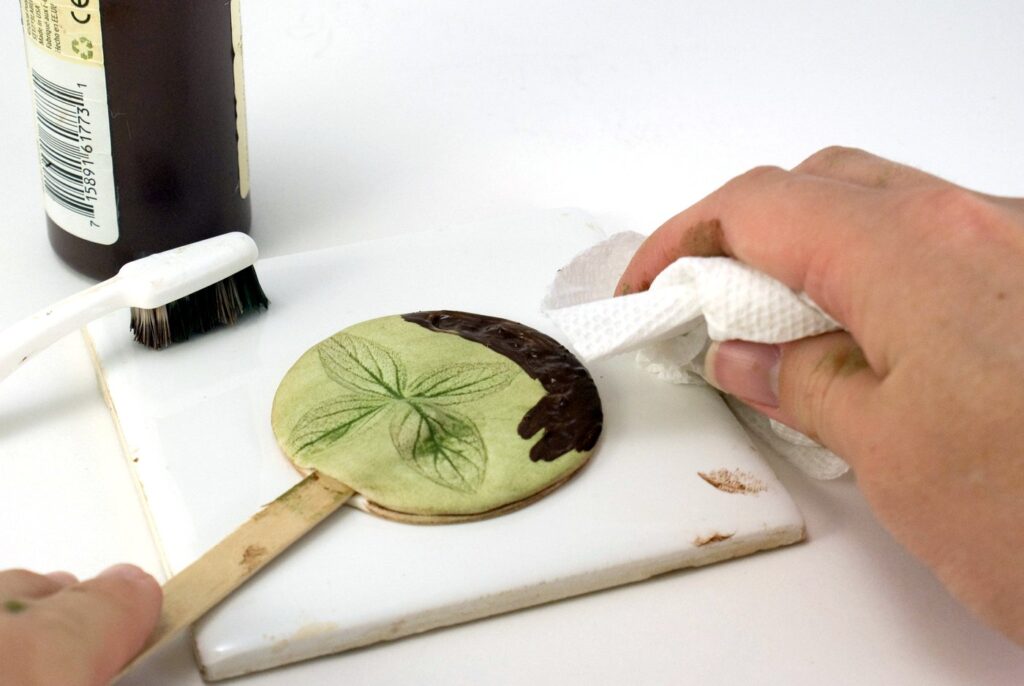
Oregano plant marker DIY, step 5: Bake & antique
Apply acrylic paint with a toothbrush to emphasize text and leaf impressions on plant marker, then wipe away the excess paint with a paper towel.
Finished oregano plant marker DIY
“Oregano” polymer clay plant marker. Made by impressing oregano leaves into polymer clay, then antiquing it with acrylic paint.
“Sage” polymer clay plant marker. Made by sculpting small plant pieces.
Finished sage plant marker DIY
“Sage” polymer clay plant marker. Made by sculpting small plant pieces.
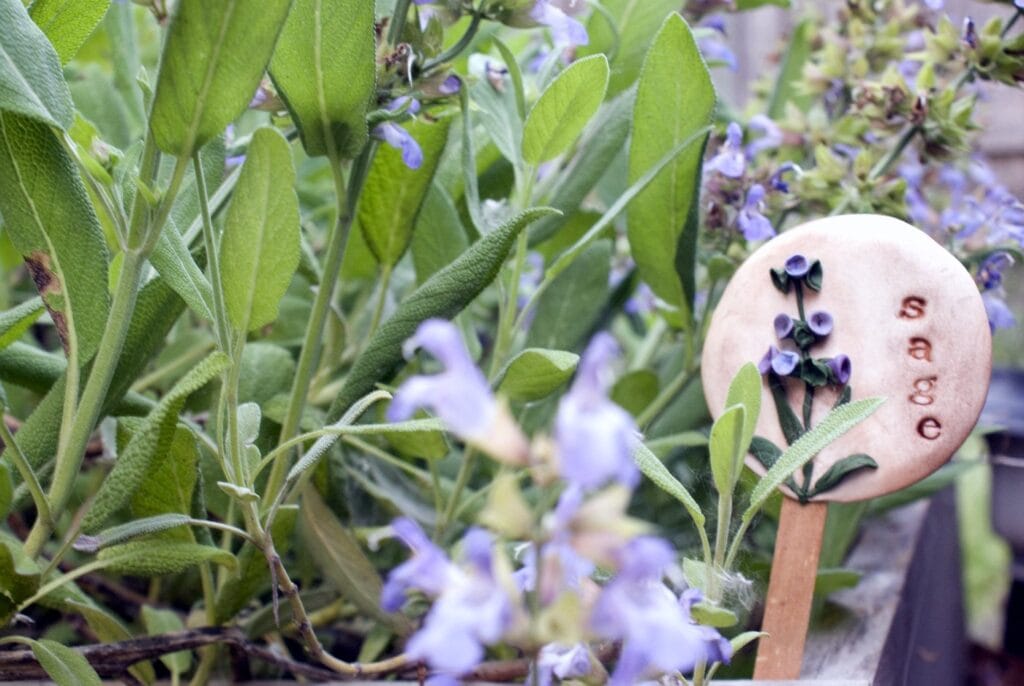
Sage polymer clay plant marker DIY in a mini-herb garden
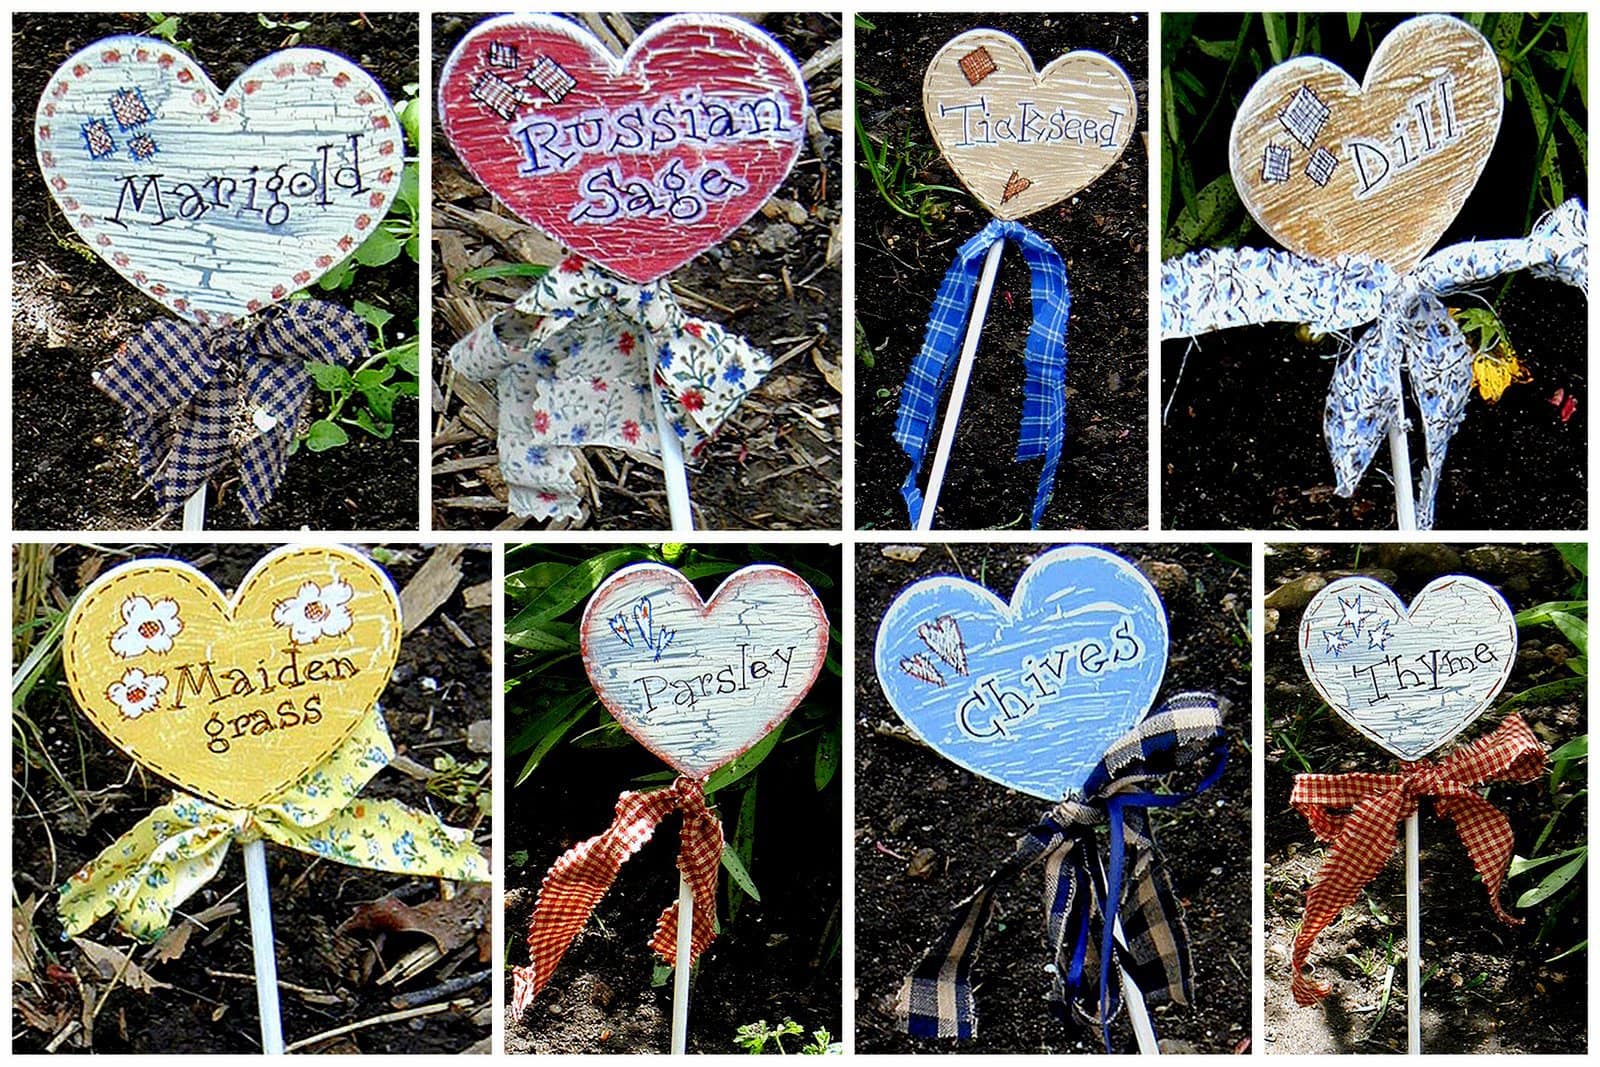
Craft #2: Make some rustic country decorative garden stakes
These handmade plant stakes are not just pretty to look at, but they also work as garden labels to help you keep track of what you planted where!
How to make these country plant stakes
Supplies you will need
3.5″ wooden craft hearts
12″ wooden dowels
Acrylic paint in antique white and contrasting color of your choice
Crackle medium
Craft pens
Fabric scraps
White craft glue/tacky glue
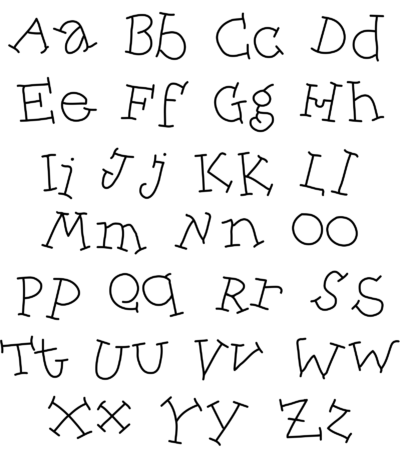
Font/lettering pattern (below)
Matte finish sealer spray
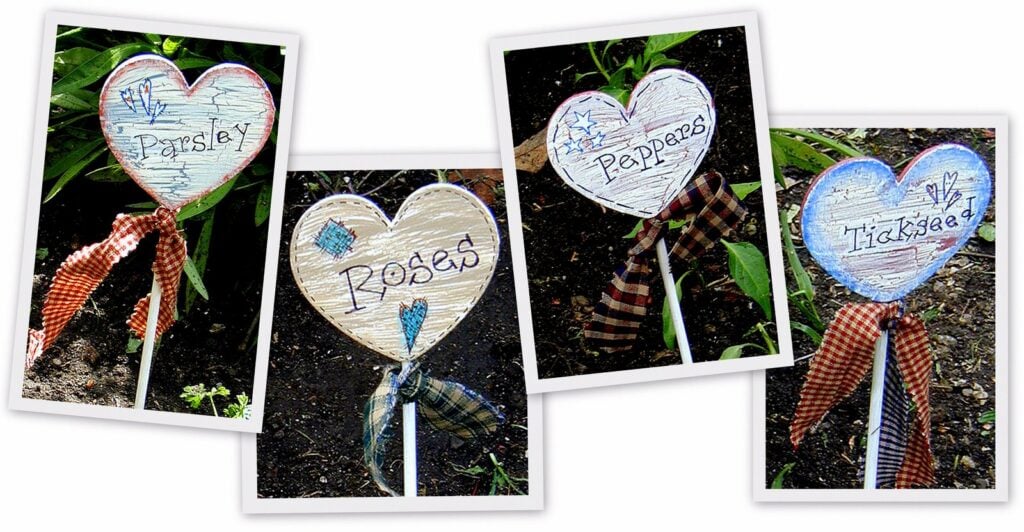
Garden marker craft: What you do
Basecoat the wooden heart and the dowel with antique white (or with contrasting color depending on the look you want, the basecoat will show through the cracks) and let dry completely.
Apply the crackle medium according to directions (to the heart only) — a medium coat works well. Allow it to dry for 15 to 25 minutes, until tacky but not completely dry.
Next, apply a medium coat of your contrasting color over the crackle, do not excessively brush! One or two strokes is enough. Let dry, crackle will begin to work within minutes.
Once the contrasting color is completely dry, you can use craft pens to draw on square patches or small hearts, or draw stitch marks around the outer edges of your heart.
Use the pens to write the herb and flower names using the font pattern below (or your preferred lettering style).
Click on the image below to download the full-size version of this lettering guide!
Next steps
When dry, glue the dowel to the back of the heart. Tie a piece of scrap material in a bow or a knot around the dowel, just below the bottom of the heart.
Next, apply two coats of matte finish sealer spray, and allow 15 minutes between coats. Finally, put these cute plant pokes in your garden, and enjoy them for years to come.

