Spook-tacular step by step: How to make a ghost costume from a sheet
Creating a ghost costume embraces the playful spirit of Halloween, offering a blend of simplicity and creative expression.
A DIY ghost costume is generally an effortless yet rewarding project, transforming basic materials like a bed sheet, scissors and some black fabric paint into a spooky attire. The process is as straightforward as folding a sheet, cutting out eye holes, and adding a personal touch with some eerie facial features.
Tailoring the costume to individual style is part of the fun, making the ghost costume a delightful choice for those looking to capture the essence of Halloween with a touch of DIY charm.
Ghost costume how to: Materials needed
Here’s how to make a simple ghost Halloween costume made from a bed sheet. This is a straightforward and budget-friendly option that you can easily customize to fit your own style.
- White bed sheet (preferably twin or full size)
- Scissors
- White thread and needle (optional)
- Black fabric paint or permanent markers
- Measuring tape
- Rubber bands (optional)
Steps for how to make a ghost costume from a sheet
Step 1: Measure and cut the sheet
- Fold the sheet: Fold the white bed sheet in half. This will give you an idea of how long the sheet will be when draped over your body.
- Measure the length: Use the measuring tape to decide how long you want the costume to be. Make sure it’s a safe length that won’t cause tripping.
- Start trimming: Trim the sheet to your desired length.
Step 2: Mark and cut out the eye holes
- Try it on: Have someone mark where your eyes should be, and make sure to align the holes so that they are symmetrical.
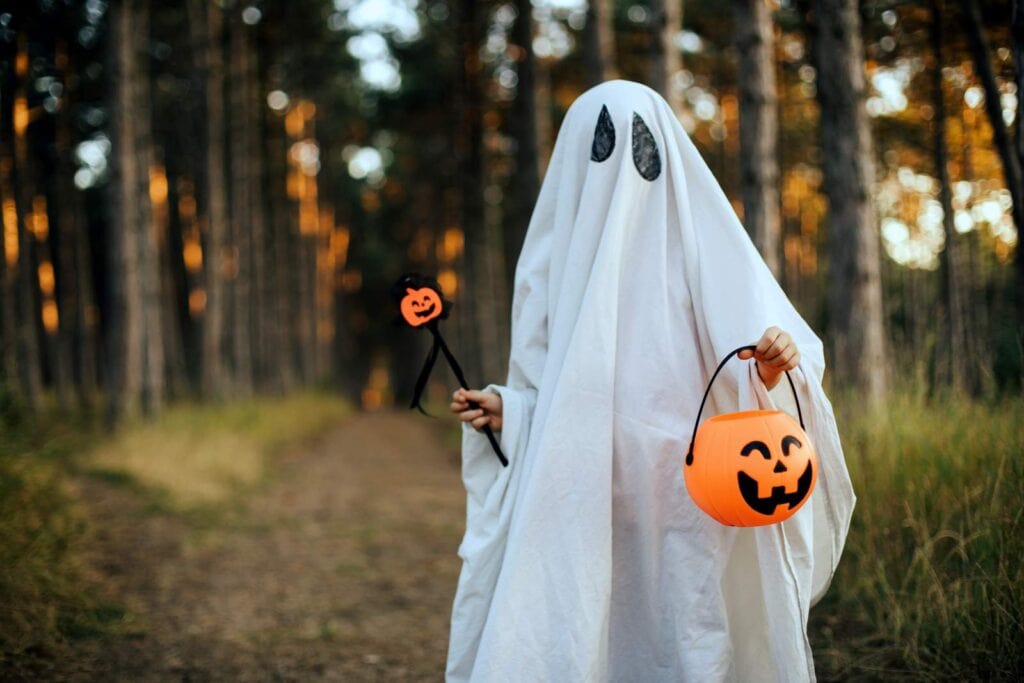
- Take off the costume and use black fabric paint to paint on two large ovals (or circles or another shape) in those spots. The “eyes” should be bigger than the eye holes you will cut.
- Cut holes for eyes: After the paint has dried, cut out two small holes for the eyes. It’s best to start small and enlarge them if necessary.
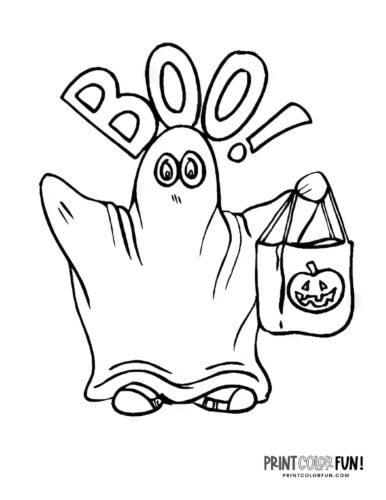
Step 3: Customize your ghost costume DIY
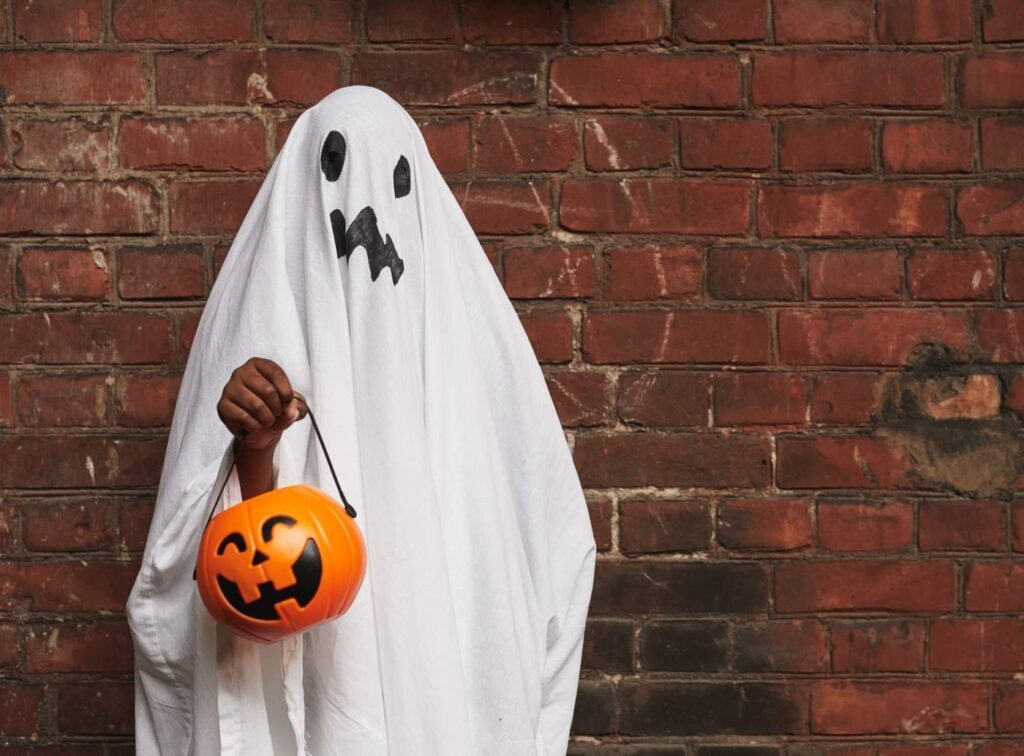
- Add facial features: Using black fabric paint or permanent markers, you can draw a mouth, nose, or any other features you’d like to include.
- Optional stitching: If you find that the sheet is too loose, you can sew some parts together to better fit your body. You can also add an elastic band around the waist area for a better fit.
- Tatter the edges: For a more worn and spooky look, you can cut the edges of the sheet into jagged shapes.
- Use white gloves with your homemade costume so you can use your hands freely without spoiling the look. (You can get a dozen pairs of white cotton archival gloves without spending too much — see some here.)
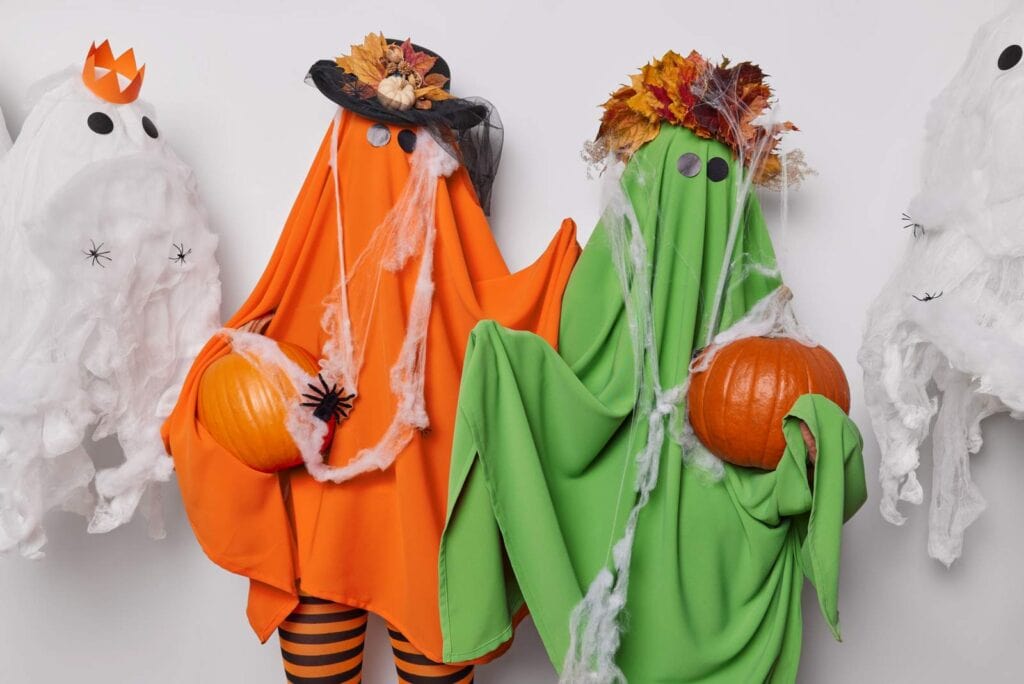
- Nothing says a ghost costume has to be white! For a fun look, use sheets in solid colors or patterns.
Step 4: Test the fit of your DIY ghost costume
- Try it on again: Once you’ve made the necessary adjustments, try on the costume over some slim-fitting clothing to make sure it fits well, isn’t too long (mid-calf height works, especially if you have dark pants on underneath), and that you can see through the eye holes.
- Final adjustments: Make any last-minute adjustments for fit, comfort and safety.


